Have You Wondered How You Can Also Add AI Chatbot To Blog Without Coding?
You open someone’s blog and notice they have implemented an AI Chatbot on their blog to help navigate users on their site. You are left wondering if you can also implement it on your blog as well.
You Tried to Add an AI Chatbot to Your Blog Without Coding — Here’s Why It Didn’t Work
A friend of yours shared a link of their website with you. After opening it, you notice there is an AI Chatbot that is answering all the questions their visitor asks them. It’s acting like a 24/7 assistant for them, keeping the audience engaged. You want the same thing on your blogs to feel modern and helpful to your visitors. You want to reduce repetitive emails and keep your readers engaged with this AI Chatbot.

You start Googling “how to add AI chatbot to my blog”. Every article that you read, throws a puzzle at you. You read about OpenAI API Keys, Pinecone vector databases, LangChain, embeddings, chunking, Python scripts. But unfortunately none of that makes complete sense. You don’t know what any of that means. You’re a blogger, not a developer. You just want a bot that knows your content.
You try a “simple” WordPress plugin. The bot either gives generic answers, hallucinates or asks you to provide an API key you don’t know how to get. The whole process feels like it’s designed to hold you away from the AI revolution. You close the tabs in your browser thinking “I guess this is only for techies with big budgets.”
Every Day Without a No-Code Chatbot, Your Blog Falls Further Behind
Every day spent without an AI Chatbot, you are leaving engagement on the table. Readers land on your website, have a question, find no immediate answer, and leave — perhaps they will visit a competitor’s website now. Your inbox is drowning in the same 5 questions a bot could handle on your website in seconds.
While competitors that have clean, on-brand chatbots are capturing that attention, increasing visitor’s time on their websites while looking more professional. You’ve wasted evenings watching YouTube tutorials that promise “no-code” but end up showing code editors within 5 minutes. The quiet anxiously builds: “Am I falling behind? Is my blog becoming irrelevant because I can’t figure this out?”
And a much bigger fear: what if the chatbot is half-baked and starts hallucinating wrong information to your visitors? Such as giving them wrong prices, dead links, outdated service — and instead of building trust, it starts harming the trust you’ve built with your audience? You cannot afford to pay a developer hefty sum of $300-$500 for something that feels like it should be a simple tool by now.
Solution of How To Add AI Chatbot To Blog Without Coding in 15 Minutes
In 15 minutes, without touching a line of code, an API key, or any technical setup, you can have a fully trained AI chatbot on your blog that answers exactly from your content — and politely says “I don’t know” rather than hallucinating.
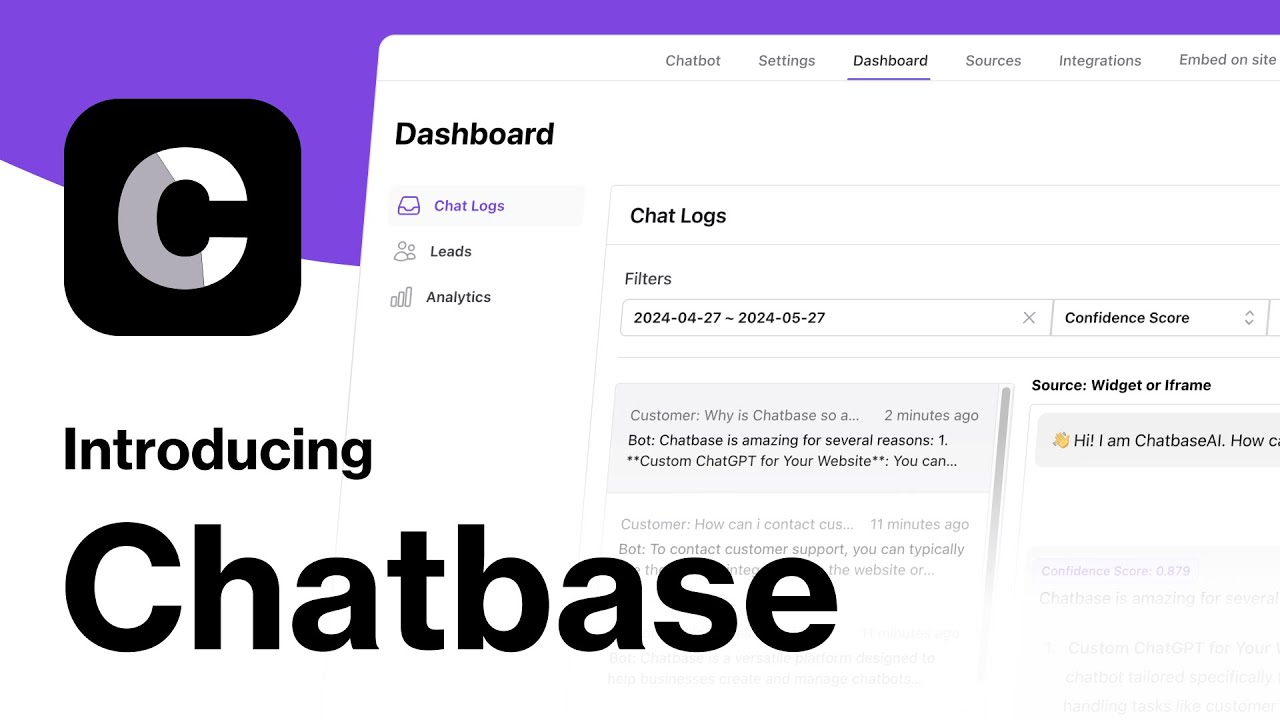
Step-by-Step Guide (using a no-code platform like Chatbase)
- Pick the right tool (no API key needed from you)
- We recommend Chatbase (free tier available, processes your site content, handles all AI on its side).
- Other alternatives: SiteGPT, Dante, etc., but we will stick to Chatbase in this walkthrough.
- You never sign up for OpenAI, never see an API dashboard.
- Create your chatbot (2 minutes)
- Sign up with Google account.
- Click “New Chatbot,” give it a name that matches your blog.
- This is purely click-and-type, no configuration files.
- Feed it your blog content (the magic step)
- Go to the “Data Sources” or “Training” section.
- Choose “Website” or “Sitemap.”
- Paste your blog’s XML sitemap URL (e.g., yourblog.com/sitemap.xml). The platform automatically crawls and imports all your posts.
- Alternative: upload a ZIP of blog text files or directly paste URLs. No manual Q&A pair creation.
- Click “Train” or “Create” — it processes in minutes.
- Make it safe: eliminate hallucinations
- In the chatbot settings, add a custom instruction prompt:
“Only answer questions based on the provided content. If the answer is not in the content, politely say: ‘I couldn’t find that in the blog, but you can email me at [your email] for more help.’ Never make up an answer.”
- This single step prevents the bot from inventing facts — huge trust builder.
- In the chatbot settings, add a custom instruction prompt:
- Brand it to match your blog
- Customize the chat bubble’s colors, logo, greeting message (“Hey, ask me anything about this blog!”).
- Change the bot name to something friendly.
- All done via click-and-pick menus, no CSS required.
- Embed it on your blog with one snippet
- The platform gives you a small script tag (2-3 lines of HTML).
- In WordPress: go to Appearance > Theme File Editor (or use the “Insert Headers and Footers” plugin), paste the snippet just before the closing </body> tag.
- Alternative: use a Custom HTML block in a widget area.
- Save and refresh — the chat bubble appears.
- Test it confidently
- Ask a question directly from one of your blog posts. Watch it answer accurately.
- Ask something off-topic. Watch it politely decline.
- This instantly transforms your fear into pride.
Leave a Reply